WooCommerce Ajax Add to Cart functionality for product listings
Most of the advanced WooCommerce themes have the ability to add products to the shopping cart by Ajax, which is really a common practice to improve the user experience. In this article, I will show you how to implement this feature in your own theme or plugin through code.
The following Gif animation is a preview of the effect achieved in this article.
Create AJAX add-to-cart buttons without JavaScript
This feature is available in theadd-to-cart.jsfile, we do not need to write additional JavaScript code to implement the Ajax add-to-cart functionality.
The code is as follows:
add_action( 'woocommerce_after_shop_loop_item', function() {

$product_id = get_the_ID();
echo '<a href="?add-to-cart=' . $product_id . '&quantity=10" data-quantity="10" data-product_id="' . $product_id . '" class="button add_to_cart_button ajax_add_to_cart">Add 10 to cart</a>';

}, 99 );
In order for this button to work properly, you need to make sure of the following:
- 在
data-product_idThe product ID is provided in the attribute. - The button must contain the following classes
add_to_cart_button ajax_add_to_cart.
in addition this
- You can find more information on the
data-quantityThe number of products is provided in the attribute (as we did). hrefattribute is only needed when the browser closes JavaScript.
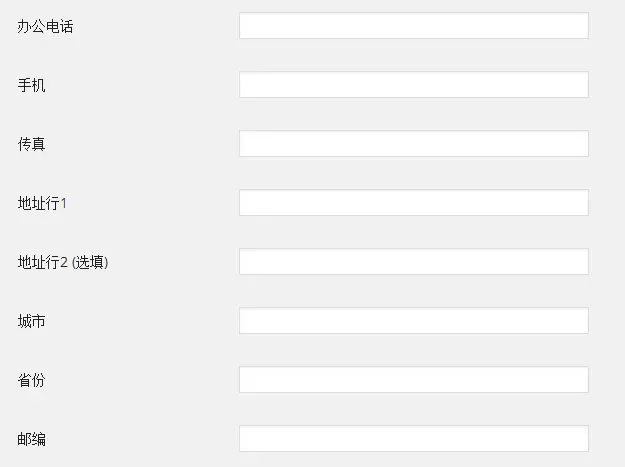
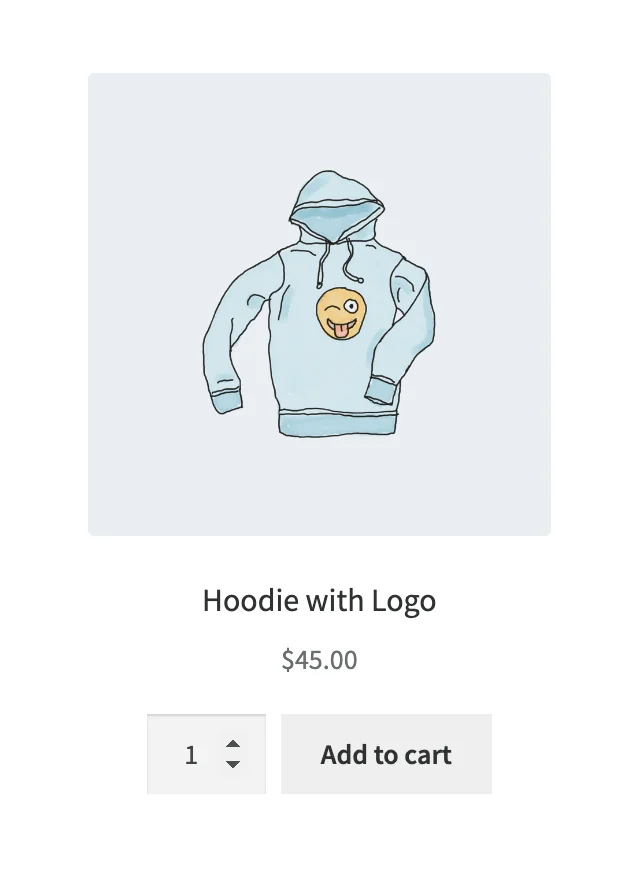
Select quantity before adding product to cart
In fact, all we need to do is use the WooCommerce The default function of the woocommerce_quantity_input()and use JavaScript to modify the "Add to Cart" button'sdata-quantityattribute, the following figure shows the effect of the implementation.
Let's use this very simple code snippet to display the quantity input:
add_action( 'woocommerce_after_shop_loop_item', function() {

global $product.

// If it's not a simple product, just return it
if( ! $product->is_type( 'simple' ) ) {
simple' ) ) { return;
}

woocommerce_quantity_input();

} ).;
Then, we use a very simple JavaScript code snippet to change the "Add to Cart" button'sdata-quantityThe value of the attribute.
$( 'li.product .qty' ).change( function() {
const qty = $(this).val();

$(this).parent().next().attr( 'data-quantity', qty );

} );
Selecting a product variant on the store page
The case of product variants is much more complex. Below is a simple static example, if you want to display the list of product variants dynamically, there is a way to do it, which I will show you in another tutorial.
add_action( 'woocommerce_after_shop_loop_item', function() {

$variation_id = 25;

echo ' <a href="?add-to-cart=' . $variation_id . '" data-product_id="' . $variation_id . '" class="button add_to_cart_button ajax_add_to_cart">Add a blue hoodie to cart</a>';

}, 30 );
As you can see, we are still using the samedata-product_idattribute, the only difference is that we provide a variant ID in it.
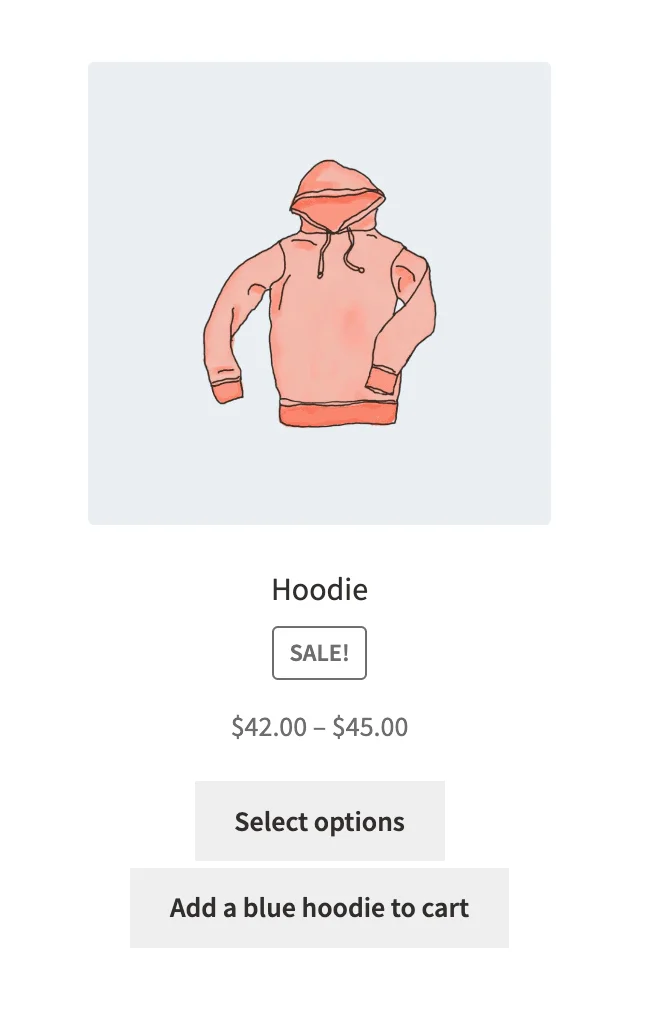
So it is possible to display product variants on a store page like this, and note that we are not even using a lot of JavaScript here.
Customize AJAX Add to Cart JavaScript Functions
Sometimes just the default buttons are used,data-product_id 和 data-quantityAttributes are not enough.
jQuery( function( $ ) {
$( '#custom-add-to-cart' ).click( function( event ) {

event.preventDefault();

const data = {
event.preventDefault(); const data = { product_id: 54,
product_id: 54, quantity: 2, }
}

$.ajax( {
type: 'POST', url: wc_add_to_cart_params.wc_ajax_url.toString
url: wc_add_to_cart_params.wc_ajax_url.toString().replace( '%%endpoint%%', 'add_to_cart' ), data: data, }
data: data,
dataType: 'json',
beforeSend: function( xhr ) {
// We can set the load state here
}, complete: function( res ) { // We can set the loading state here.
complete: function( res ) {
// Remove the button loading state here
}, success: function( res ) { // We can set the loading state here }, complete: function( res ) { // Remove the button loading state here.
success: function( res ) {

$( document.body ).trigger( 'added_to_cart', [ res.fragments, res.cart_hash ] );

}
}).

} );

} ).;